HOW TO INSTALL TUBE SADDLE®
Before installing TUBE SADDLE® for the first time, watch the installation videos below. In the least, follow the following tips:
- Inspect your rim lock carefully to make sure it is good. If the threaded stud is separating from the base of the rim lock, replace the rim lock.
- Clean the inside of the rim thoroughly. You can remove the band seal or duct tape covering the spokes. Remove all adhesive
- Use plenty of dry lubricant such as talc baby powder generously inside the tire and on the inner tube.
- When installing the tube, make sure your valve stem is centered in the valve stem hole of the rim.
- When installing TUBE SADDLE® make sure to center it over the rim lock inside the rim.
- If you are having trouble inserting the TUBE SADDLE® over the inner tube and inside the tire, remove all the air from the tube by removing the valve stem core.
- If you are having trouble with the final bead pull, you need to push the final bead to the center of the rim opposite of where you make the final bead pull. A Motion Pro Bead Buddy II will greatly assist.
- After inflating the inner tube and seating the beads of the tire in the rim, tighten the valve stem nut against the valve stem cap, not against the rim, and tighten your rim lock firmly.
- If you are planning to run 10psi or less, mark your tire and rim with a marker in a few spots prior to riding. Check the marks on the initial ride. If the marks misalign by more than between 1/16″-1/8″ your rim lock is bad or it is not tightened firmly.
- Under low pressure (10psi or less) the flexing of the rear tire will naturally try to “walk” the inner tube inside the tire which causes the valve stem to tilt somewhat from center. As long as the tire is not slipping on the rim (hence the marking of the tire and rim above) the valve stem tilt should not cause a problem. The better you lubricate the tire and inner tube with Talc powder, the less the valve stem will tilt and reduce strain on TUBE SADDLE®
- Store TUBE SADDLE® in a cool and dry place when it is not in your tire.
- When you are not riding, you can release the air pressure in your tubes to allow TUBE SADDLE® to relax.
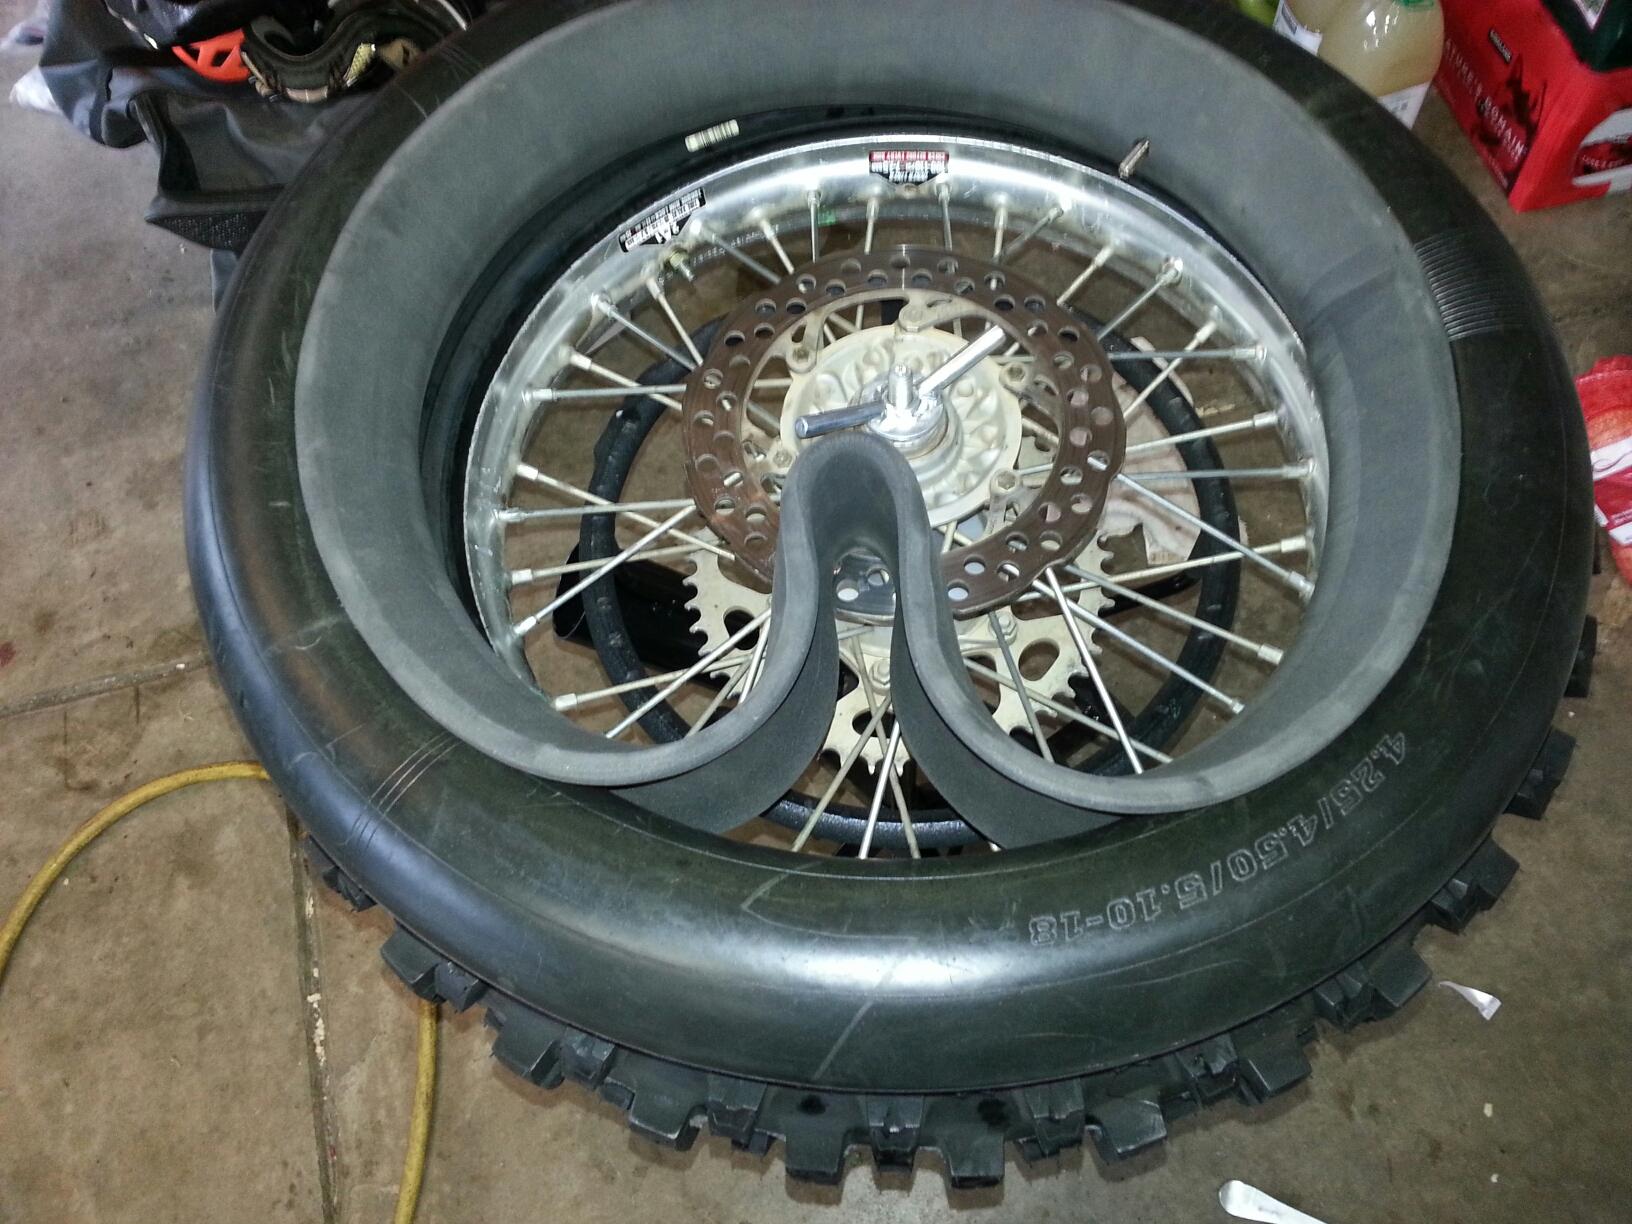
AVOID THIS AND GETTING CONFUSED
We strongly recommend you view these installation and removal videos prior to your first time installing TUBE SADDLE®. This is an example of having too much air pressure in the inner tube prior to assembly, making you think the TUBE SADDLE® is too large.
TUBE SADDLE® ADVANCED New Installation Front Tire
How to install a new TUBE SADDLE® for a front tire for the first time.
TUBE SADDLE® CONVENTIONAL New Installation Rear Tire
How to install a new TUBE SADDLE® for a rear tire for the first time.
TUBE SADDLE® CONVENTIONAL Re-Installation Rear Tire
How to install a pre-run TUBE SADDLE® for a rear tire, but it applies equally as well for installing a new rear TUBE SADDLE® for the first time.
TUBE SADDLE® CONVENTIONAL Re-Installation Front Tire
How to install a pre-run TUBE SADDLE® for a front tire, but it applies equally as well for installing a new front TUBE SADDLE® for the first time.
TUBE SADDLE® Removal Rear Tire
How to properly remove a pre-run TUBE SADDLE® from a rear tire for reinstallation with an new tire.
TUBE SADDLE® Removal Front Tire
How to properly remove a pre-run TUBE SADDLE® from a front tire for reinstallation with an new tire.